Beeswax
All The Things You Need To Know About Melting A Beeswax
Table of Contents
Disclaimer: This content is provided for educational and entertainment purposes only and does not constitute professional advice. We do not guarantee the accuracy or completeness of any information presented. We are not liable for any actions taken based on this content. For specific issues or decisions, we recommend seeking professional advice. This content is not promoted on social media.
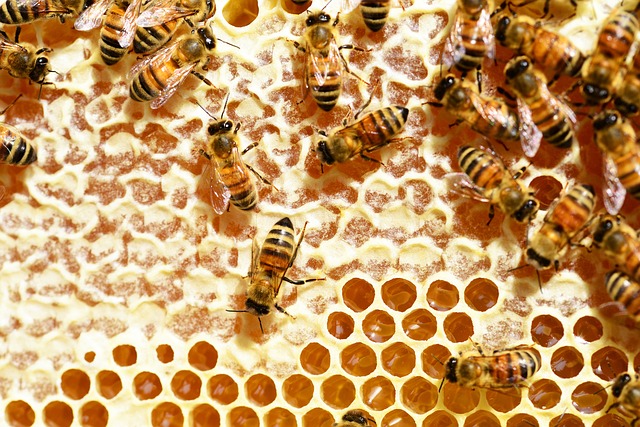
Before we dig in any deeper, let’s make sure that you know exactly what beeswax are. Scientifically called cera alba, beeswax is a natural wax famously produced by honeybees. In the eight wax-producing glands in the abdomen area of the worker bees, these waxes are formed into scales and are discarded in or at the hive.
There are so many things that can be done with beeswax. It can be used for skin care, typically for make ups, sunscreens, and baby products because it is deemed good for the skin, to simply put it, it is naturally produced by the worker bees to store honey. Beeswax also contains antibacterial agents that helps in treating burns and wounds and certain skin issues. To date, it is known to mediate the symptoms of certain skin conditions such as psoriasis and eczema.
Much more than its uses for skin care and treatment, most of these require the beeswax to melt before it can be incorporated into something else.
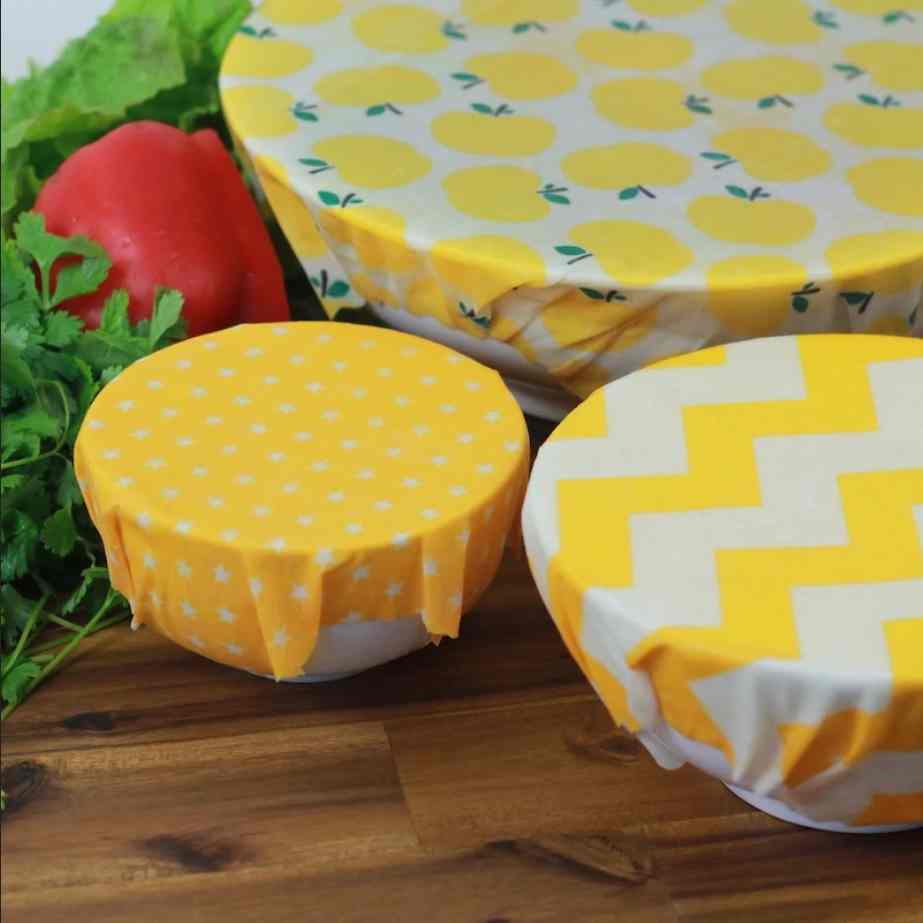
If you’re seeking beeswax products, it’s easier and cheaper to buy from our online store with free delivery. Check some of the popular products like beeswax food wraps, beeswax furniture polish (most popular) and leather care products.
Here’s everything you need to know about melting beeswax:
How to melt beeswax?
Although Beeswax is known for its wonderful uses, not knowing how to deal with it when it’s hot can pose a lot of danger. Beeswax may be a natural wax produced by worker bees, but it is still a wax, and we need to know how to carefully handle it when it’s hot.
Here’s how you can melt it:
- Melt beeswax using a double boiler. With the use of a large stock pot and a small metal bowl that you can easily fit inside the pot, this is what makes a makeshift double boiler. If you already have one, then it’s best to use the two pots that come with it. Make sure that the smaller saucepan can rest on the lip of the larger pot, making sure that the saucepan does not touch the bottom. It’s okay to use any regular large pot as the beeswax goes in on the saucepan, so make sure to use an older saucepan that is no longer in use. Don’t use plastics or glasses since we’re dealing with heat and they may break or shatter anytime.
- Fill in the large stock pot with water. Not too much, though, as we’re making sure that water won’t spill when it boils. Make sure to fill the large stock bowl with enough tap water, making it at least 2 to 3 inches deep. If the saucepan you’re using is extra small, fill in the stock pot with water, making it about ¾ full.
- Boil the water on the stove. Put the water-filled large stock bowl on the stovetop burner and set the heat to high. Securely place the pot so it is sturdily resting on the burner, the last thing we want is for it to spill over, that can be very dangerous.
- Fill the smaller bowl with solid beeswax pieces. Cut the beeswax into smaller chunks to speed up the melting process. Make cubes of beeswax and throw it in the saucepan or them metal bowl. The smaller chunks, the faster it melts.
- Put in the smaller bowl inside the larger pot after reaching the boiling point. From high heat, adjust it to medium or medium-high to keep the water going at a steady boil. The smaller saucepan should reach the boiling water but avoid hitting the bottom of the pan. Avoid the smaller pan to touch the source of heat as it may unevenly melt the beeswax and it may also cause fire.
- Slowly melt the beeswax over the boiling water. Monitor its state as it melts. Wait for the beeswax to completely melt out, while doing so, look out on the water level, making sure that more water is added in case it starts evaporating.
- Once the beeswax has completely melted, pour it into a mold. Prepare molds or containers so that once the beeswax is completely melted, you can immediately pour it into the mold where it can cool down.
How to melt beeswax in water?
- Fill the pot with 2-3 inches of water. You can either use tap water, or an already heated water to speed up the process. If the crock pot basin is made out of a nonstick material, you can opt to directly heat the bees wax in it or put a sheet of aluminum foil over it. This is method is recommended as pouring the liquified wax is much easier.
- Put in a smaller metal bowl into the crock pot. The smaller bowl you’ll use should no longer be used to serve food in. Remember to choose one that is small enough to avoid water from coming in, but just enough so that it’s still possible to close the crock pot’s lid.
- Put the solid pieces into the smaller bowl. Cut the beeswax into smaller pieces so it’s easier to melt it.
- Wait for the wax to melt completely inside the covered crock pot. Put the burner in low head and seal the crock pot with the lid to seal the heat inside the pot.
- Pour it out into the molds. Just like the other method, once the wax has completely melted, pour it into the molds that you have prepared for it.
What is the beeswax’s melting point?
To achieve the goal of melting the beeswax in a way that it can still be useful, make sure that it is set on the right amount of temperature. Its melting point is at 62-64.5 °C. Beeswax becomes brittle once temperature drops down below 0°C. Take note that we have to avoid putting the wax on a higher temperature as heating it above the desired heat causes discoloration and boiling will eventually ruin the quality of the wax.
Does melting beeswax need the use of any equipment?
There have been a lot of inventions on how to conveniently melt beeswaxes. The conventional method works, undeniably. But melting beeswaxes is a lot more convenient with a lot of inventions and variations of beeswax liquefiers and melting tanks to use. These tanks are digitally controlled and are using a stainless steel and highlights insulation for safe and eco-friendly heating processes. Is it really needed? Not really when you’re only needing a small amount of beeswax to melt. But if you’re into the business, it might save you time and energy to invest on a good Beeswax melting tank or machine.
So, there you have it. Stick your noses in and learn a thing or two on how to melt beeswax.
Damini Patel
Latest posts by Damini Patel (see all)
- All The Things You Need To Know About Melting A Beeswax - November 17, 2020


